Making Tempeh at Home
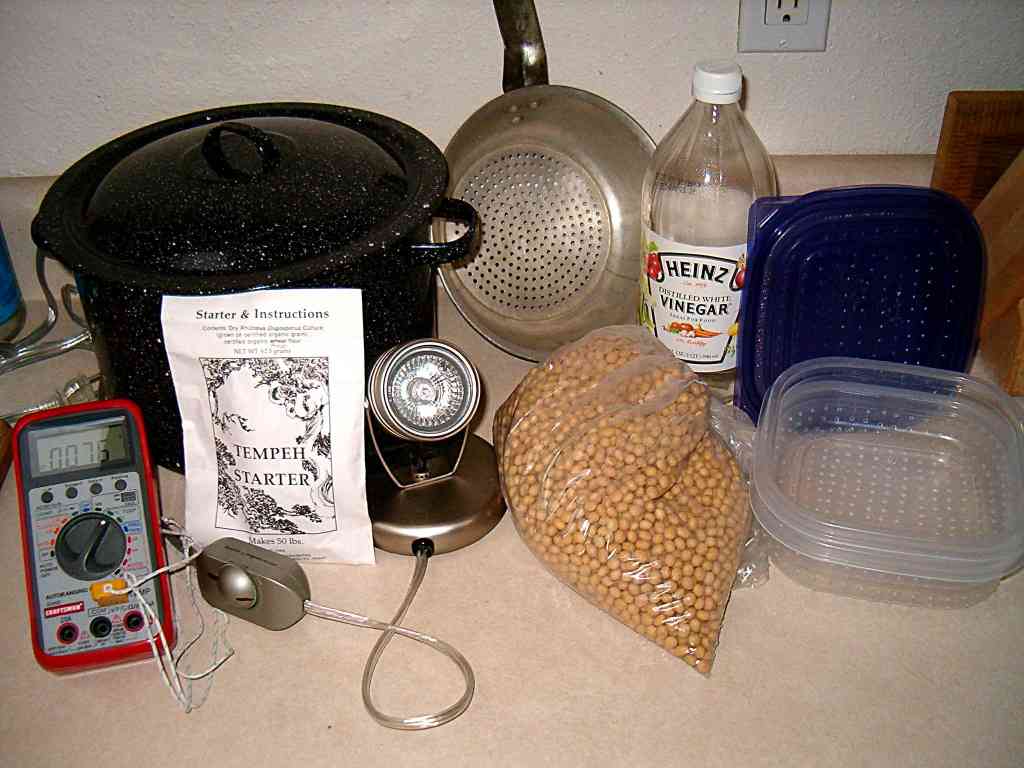
| Hardware: | Ingredients: |
| Large pot for boiling beans and steaming tempeh | Organic Soy Beans - 2 cups |
| Thermometer | Vinegar - 2 Tbs |
| Light with dimmer switch | Tempeh Starter - 3/4 tsp |
| Mixing bowl | |
| Colander for steaming tempeh | |
| Containers with holes for making tempeh in |
| Step | Procedure | ||
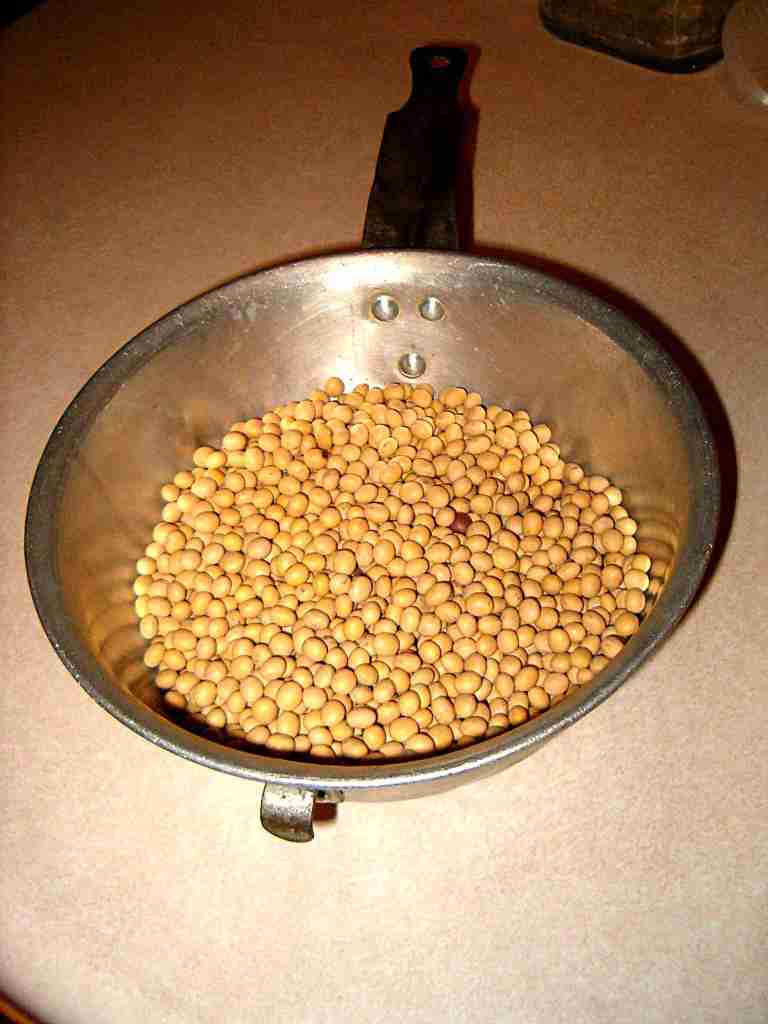
| 1 | Measure 2 cup of dry soybeans - we use organic. |
|
|
| 2 |
|
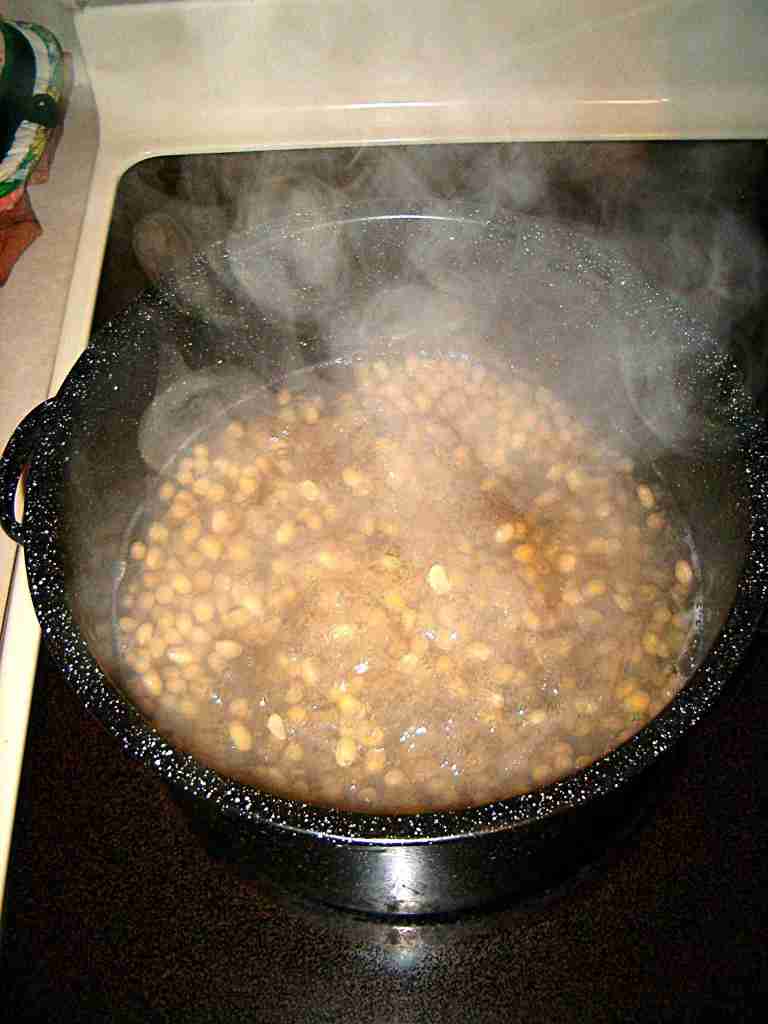
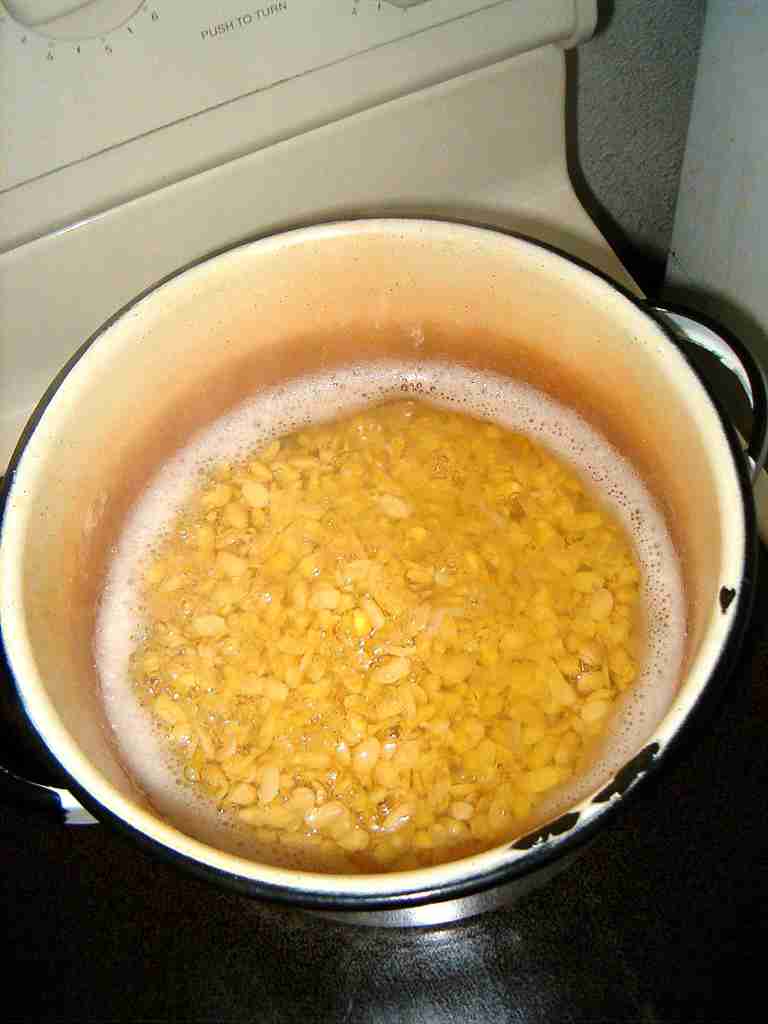
The first step is to de-hull the beans. Boil whole soy beans 15 minutes, then turn off and allow to sit 2 hours. | |
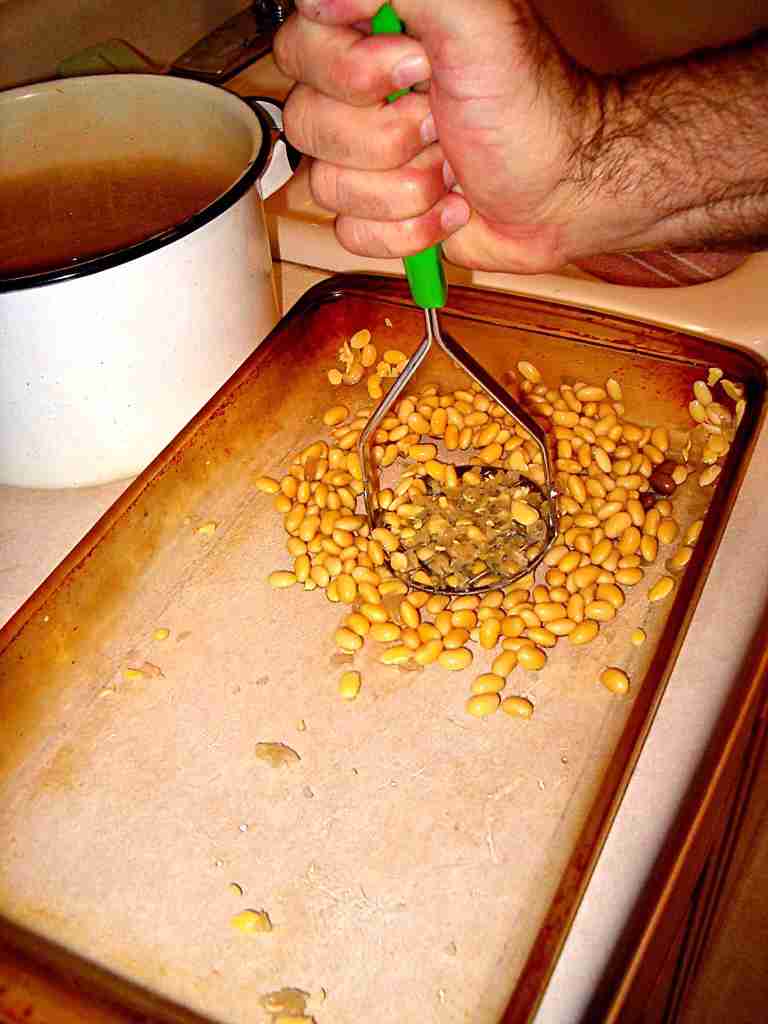
| 3 | Drain water off of beans and use a shallow baking dish and potato masher to split beans. Dump split beans and hulls into another pot. | 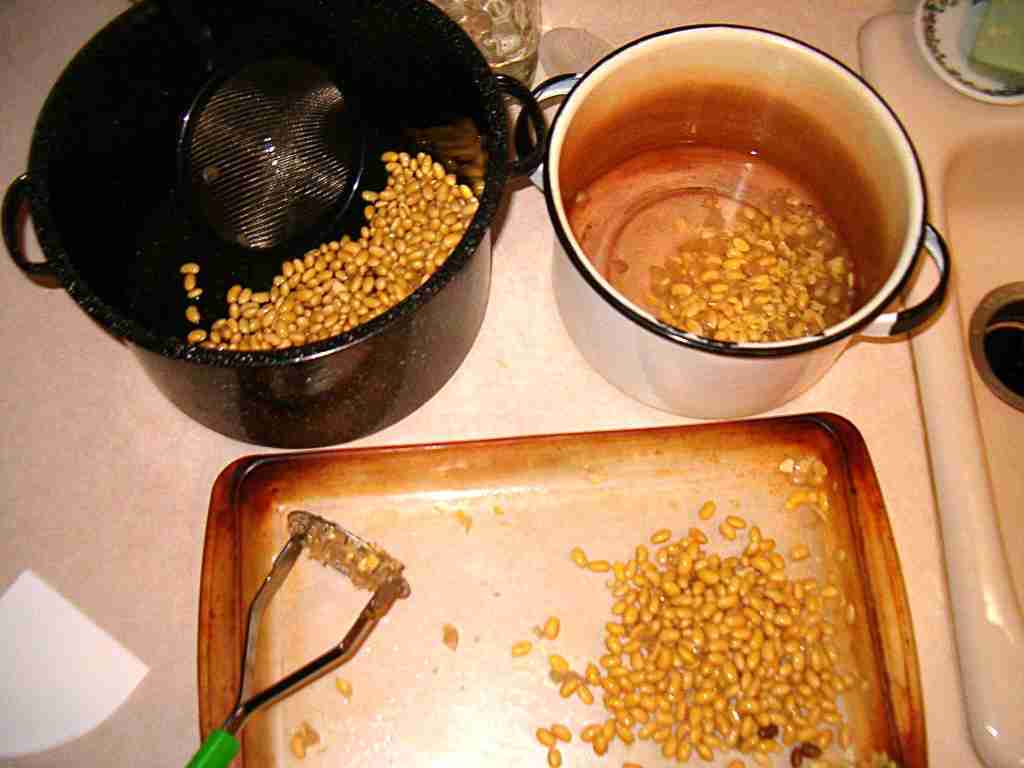 |
|
| 4 |
|
A firm "rocking" motion with the masher works well to split the beans and liberate the hulls. | |
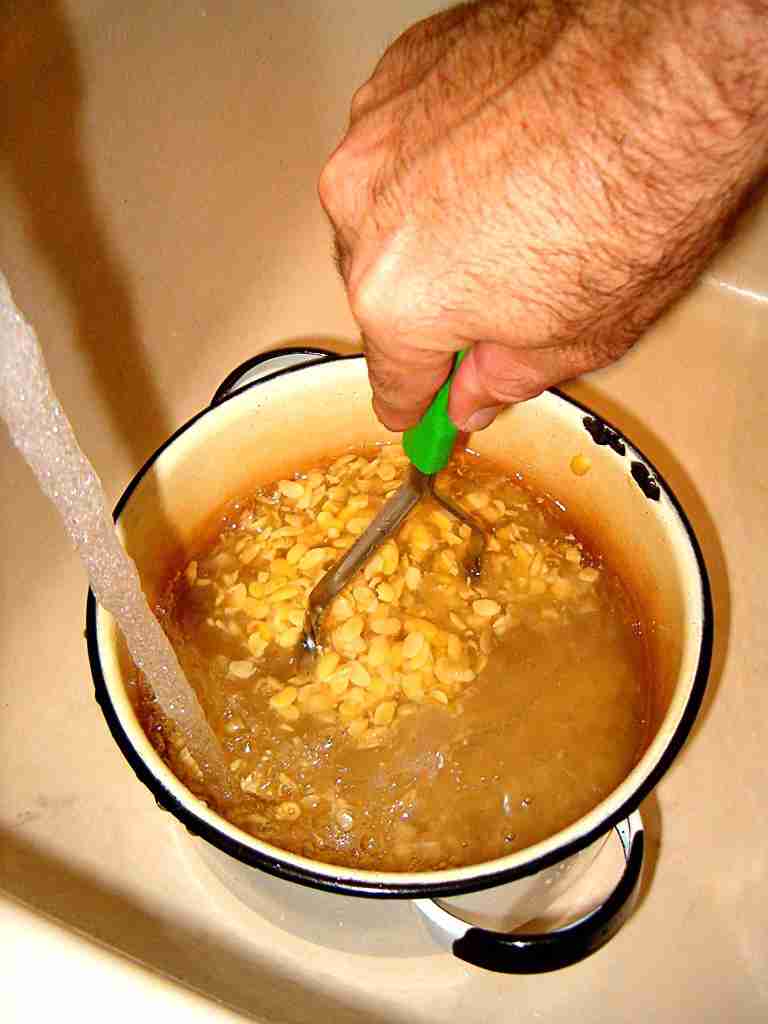
| 5 | Add water to the pot you're putting the beans and hulls into and use a strainer to skim the hulls off. | 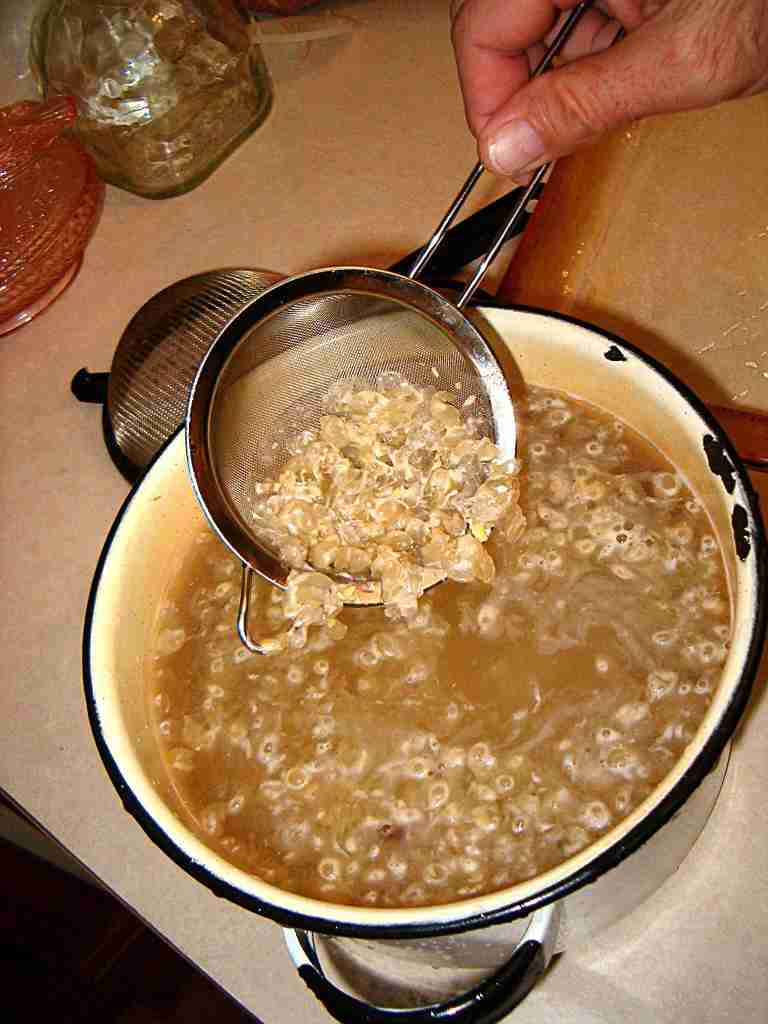 |
|
| 6 |
|
After skimming the hulls, mash the beans some more in the pot to liberate more hulls. The de-hulling step is the hardest part - it takes me about 10 minutes for 2 cups of beans. | |
| 7 | Boil the beans for another 30 minutes after the hulls are removed to finish cooking them. |
|
|
| 8 |
|
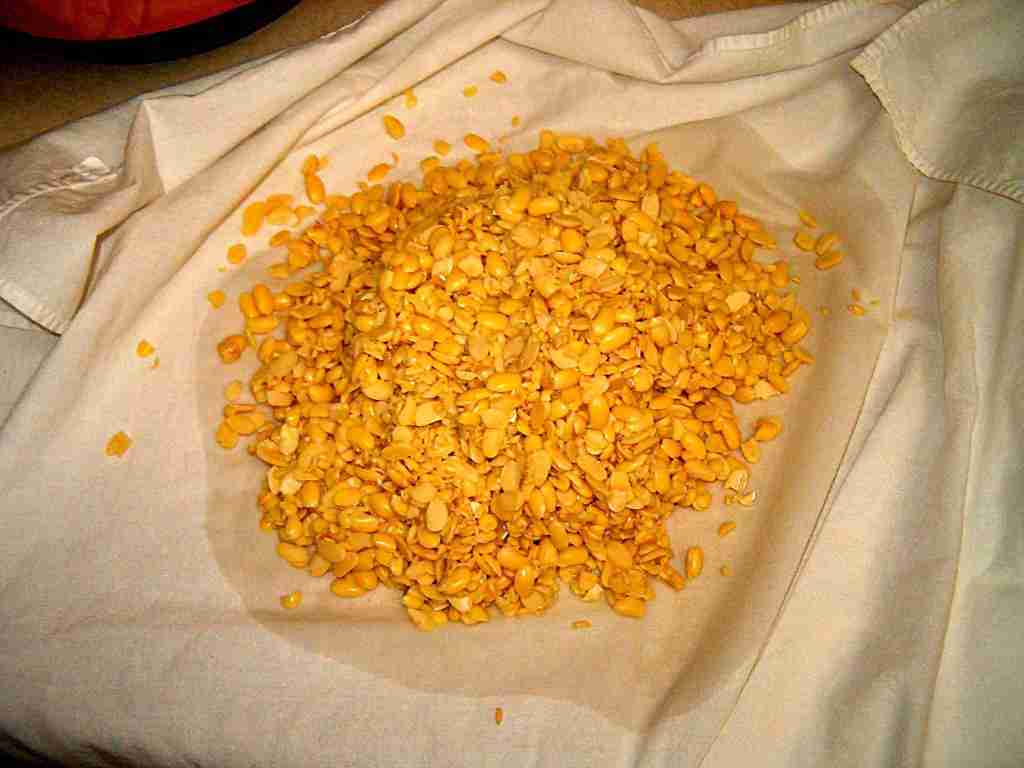
The de-hulled beans are now ready for drying. Put the drained beans in a clean lint free towel and dry them until they are "surface dry." |
|
| 9 |
|
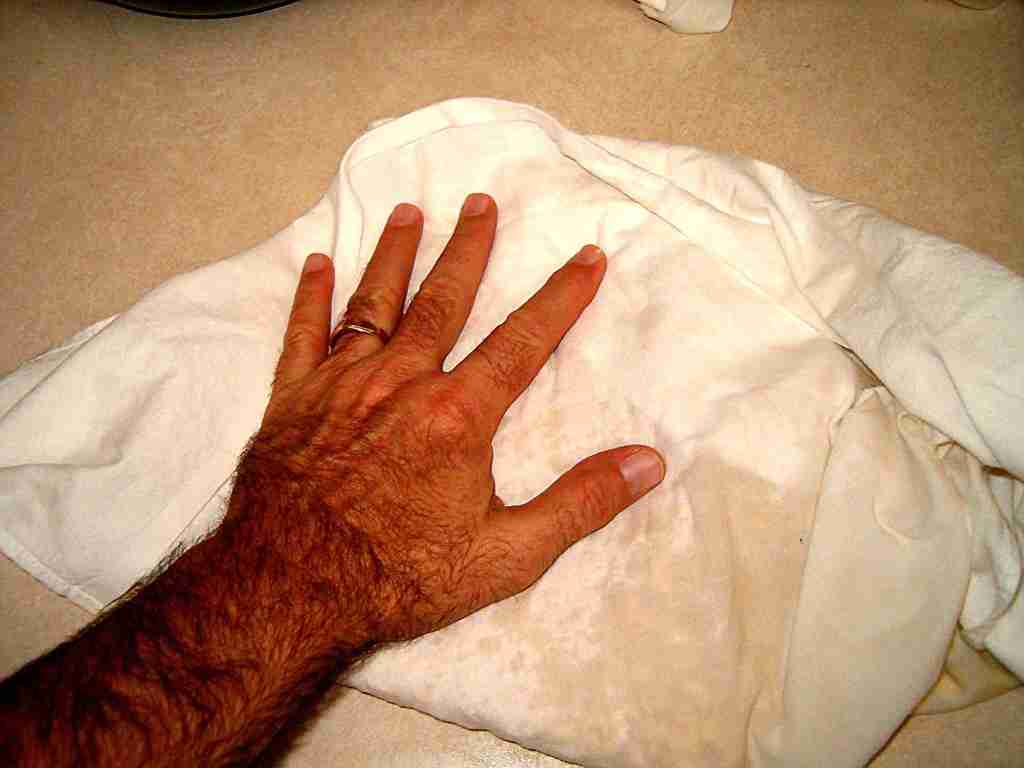
I knead them gently in the towel to dry them and then put them in a mixing bowl to inoculate them. |
|
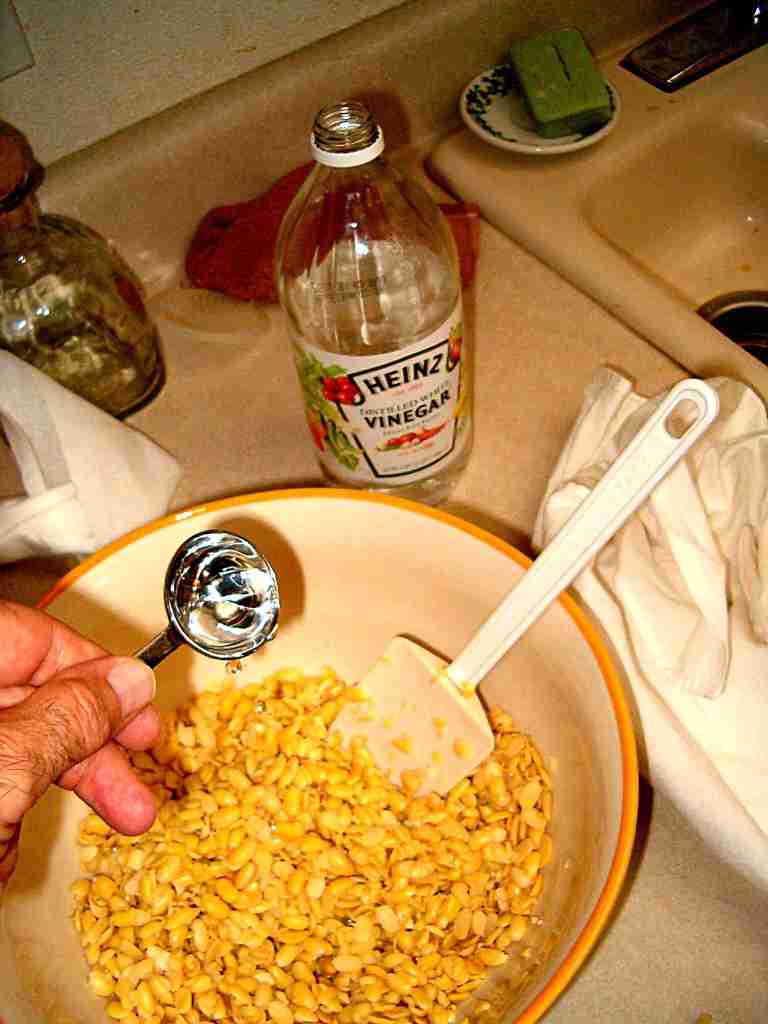
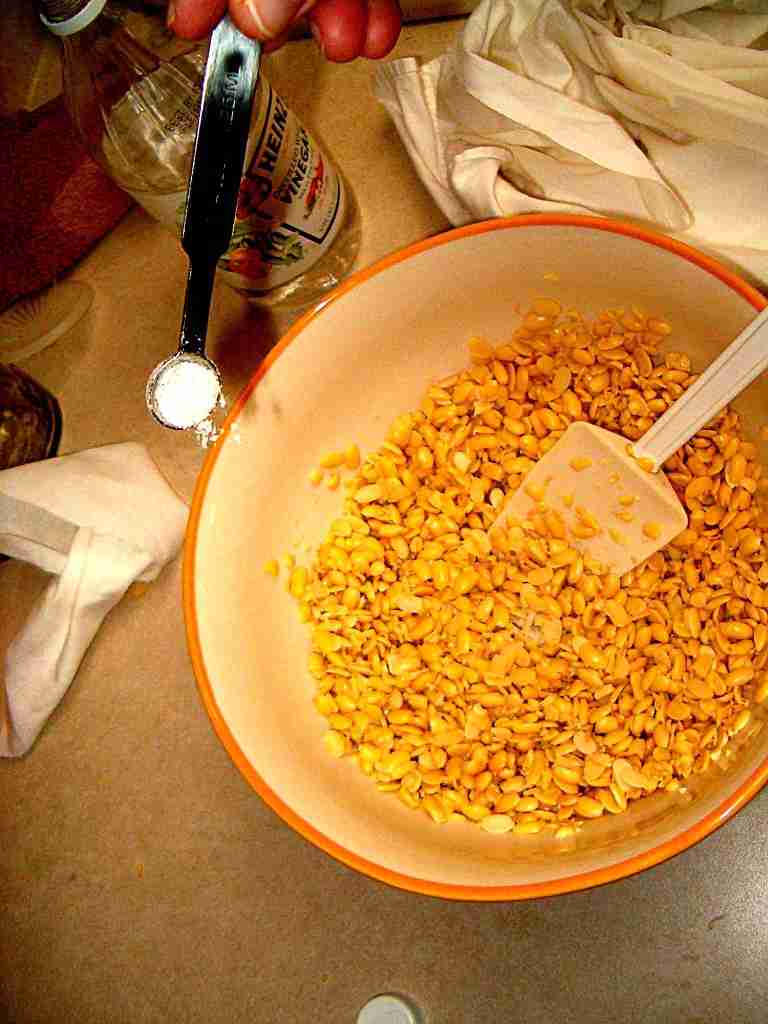
| 10 |
|
Add 2 tablespoons of vinegar to the beans and mix well. Then add 3/4 teaspoons of tempeh starter to the beans and mix well again. |
|
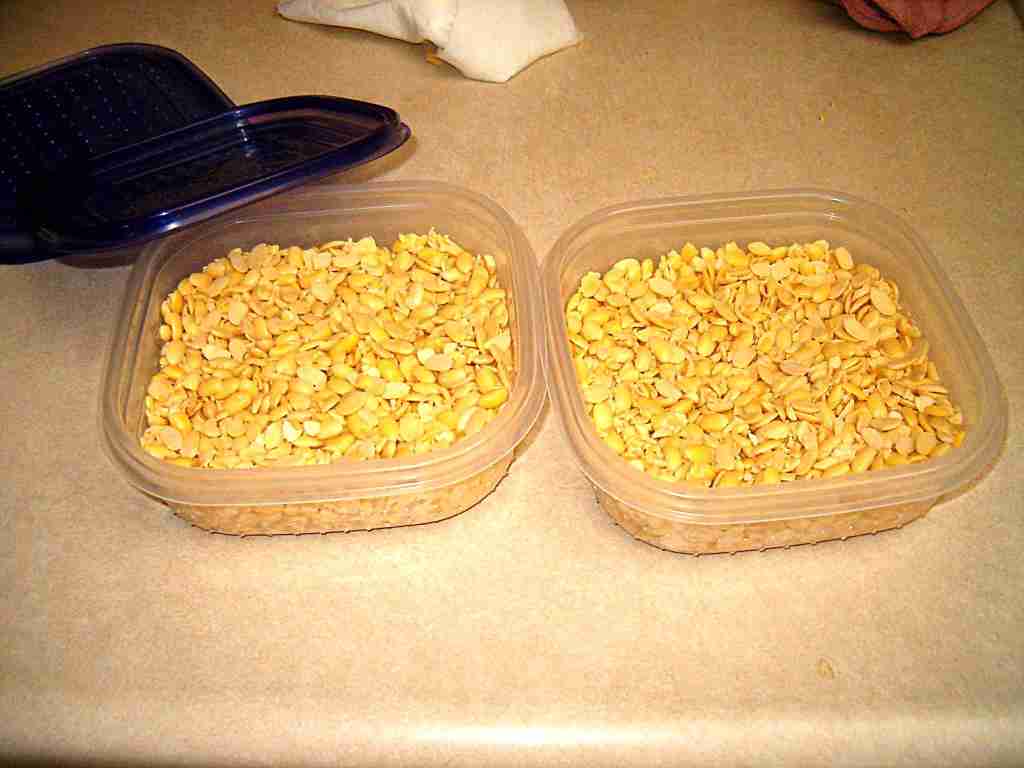
| 11 |
|
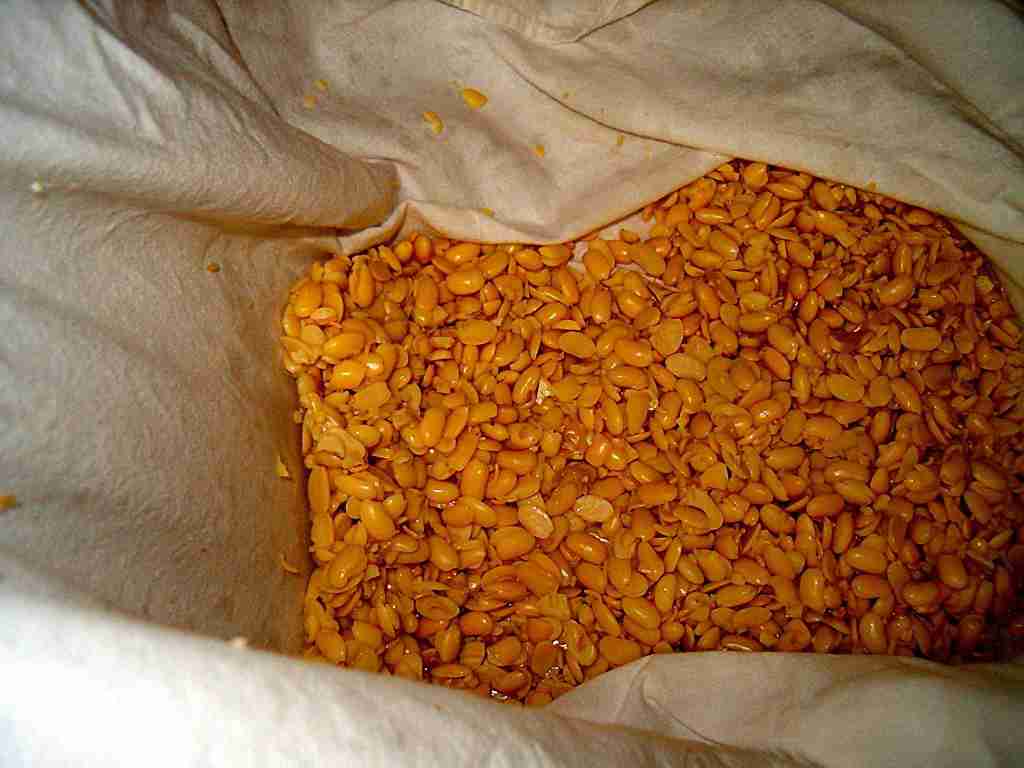
Lightly pack the beans into the vented containers to about 1/2 to 1 inch deep. (I make mine about 1 inch thick.) | |
| 12 | Here's my setup for an incubator. I use one of my kitchen cabinets in which I placed a heat source (a lamp with a dimmer switch) and a thermometer. (My thermometer happens to be a function on my multimeter.) I have placed the Tempeh containers on a wire rack to facilitate air circulation. I adjust the light dimmer switch temperature as required to maintain the temperature in the cabinet to between 85 to 95 degrees F - trying to keep the temperature of the beans 88F for the first 12-15 hours until the Tempeh begins producing its own heat. At that point, I begin dimming the light and eventually turning the light off. I close the cabinet door and check the temp every hour or so, but not after I go to bed. | 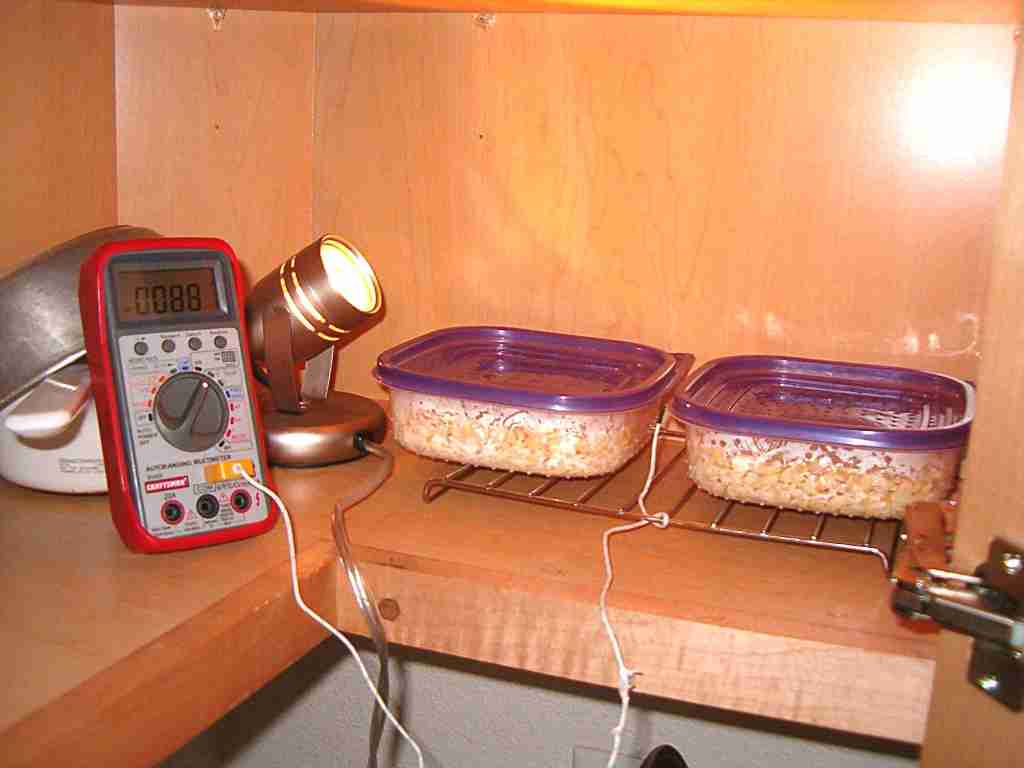 |
|
| 13 | 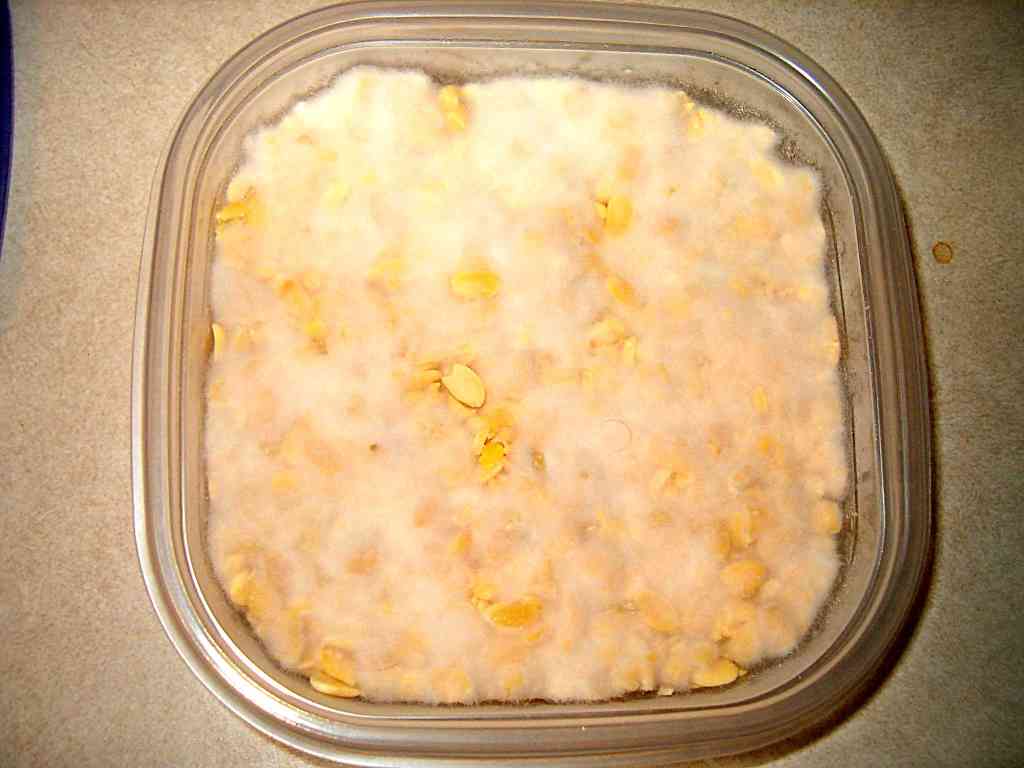 |
Here's the Tempeh at about 23 hours after inoculation with the starter. The white mycelium is starting to cover the entire surface of the beans, only a couple of more hours to go! | |
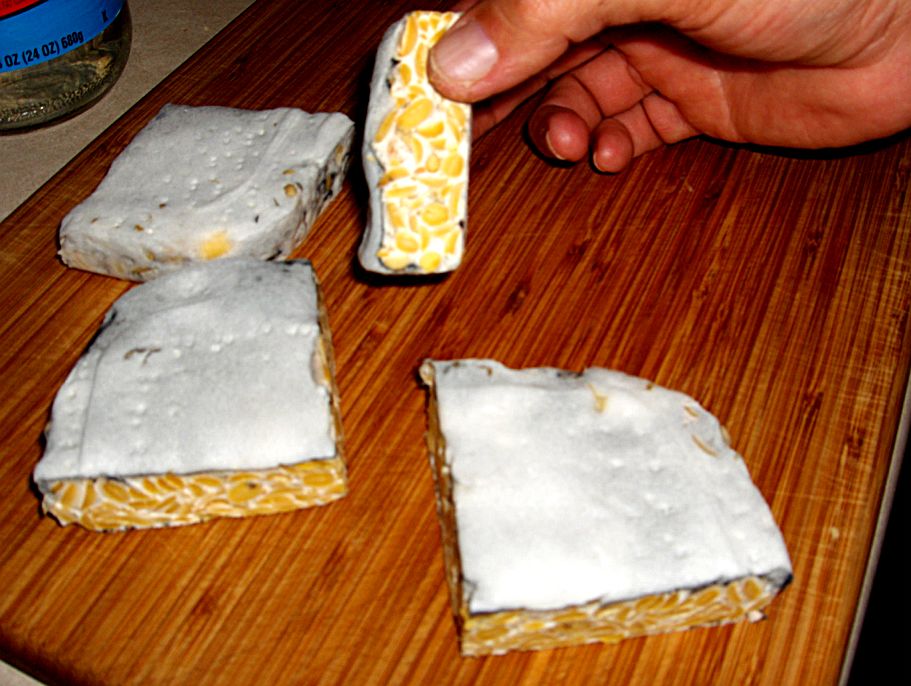
| 14 | Here's a look at the inside of the finished Tempeh at about 26 to 30 hours after inoculation. The white mycelium has grown though the beans and created a dense, nutty smelling Tempeh. At this point I steam the Tempeh over boiling water (using the colander) for 20 minutes, and then slice them in half to make patties about 1/2 inch thick. I soak the patties overnight in salt water made from 2 teaspoons of salt per pint of water, then dry and freeze the patties. When I want to eat them, I take them out of the freezer the day before, let them thaw and fry them up. |
|
|
| 15 | Here's
one way we like to eat our Tempeh - fried with a little soy cheese
melted on top, on toasted homemade bread, BBQ sauce and some fresh
lettuce - oh, and lots of vegan mayonnaise!
Tempeh Bacon is another fun way to eat Tempeh. Thinly slice the Tempeh into strips and place in the following marinade for 1 hour to 5 days, then pan fry or deep fry until golden brown and crispy. TEMPEH BACON MARINADE Water - 1 pint Salt - 1 teaspoon Garlic Powder - 1 teaspoon Liquid Smoke - 1 tablespoon
You can, of course, adjust these ingredients according to your taste |
|
|
 |
|||
| Blackspot Tempeh Home | |||